Create your first project
This guide walks you through creating your first project on the NUVIEW Platform. You'll need a valid account with the appropriate permissions.
Steps to Create a New Project
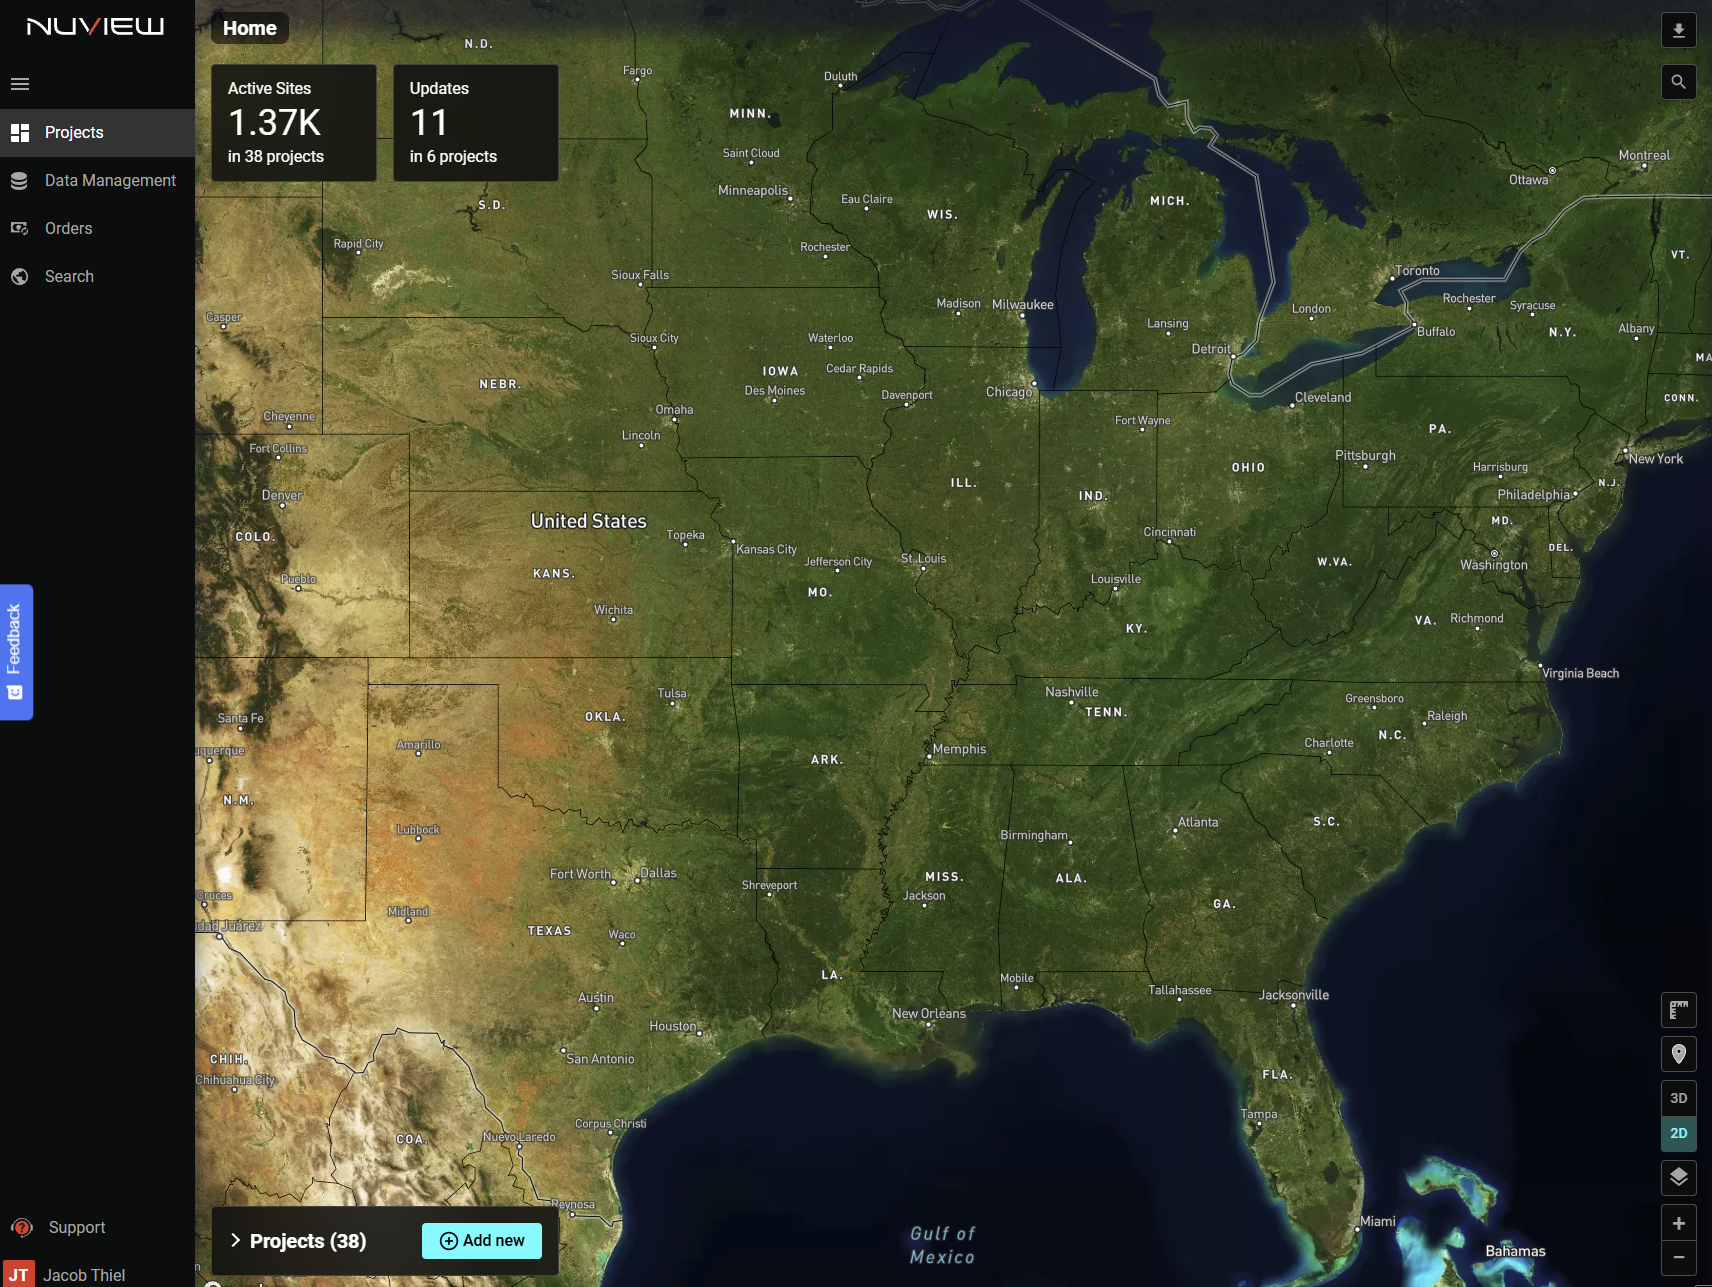
Step 1 — Sign in at https://platform.nuview.space you will land on the Projects section and can return to it any time using the left sidebar.
Step 2 — On the Projects home screen, click Add new in the top right of the projects list.
Step 3 — A New Project dialog will appear. Enter a project name and select the project type:
- Standard — For general use cases.
- Monitoring — Includes a timeline for tracking changes over time. Recommended for most workflows.
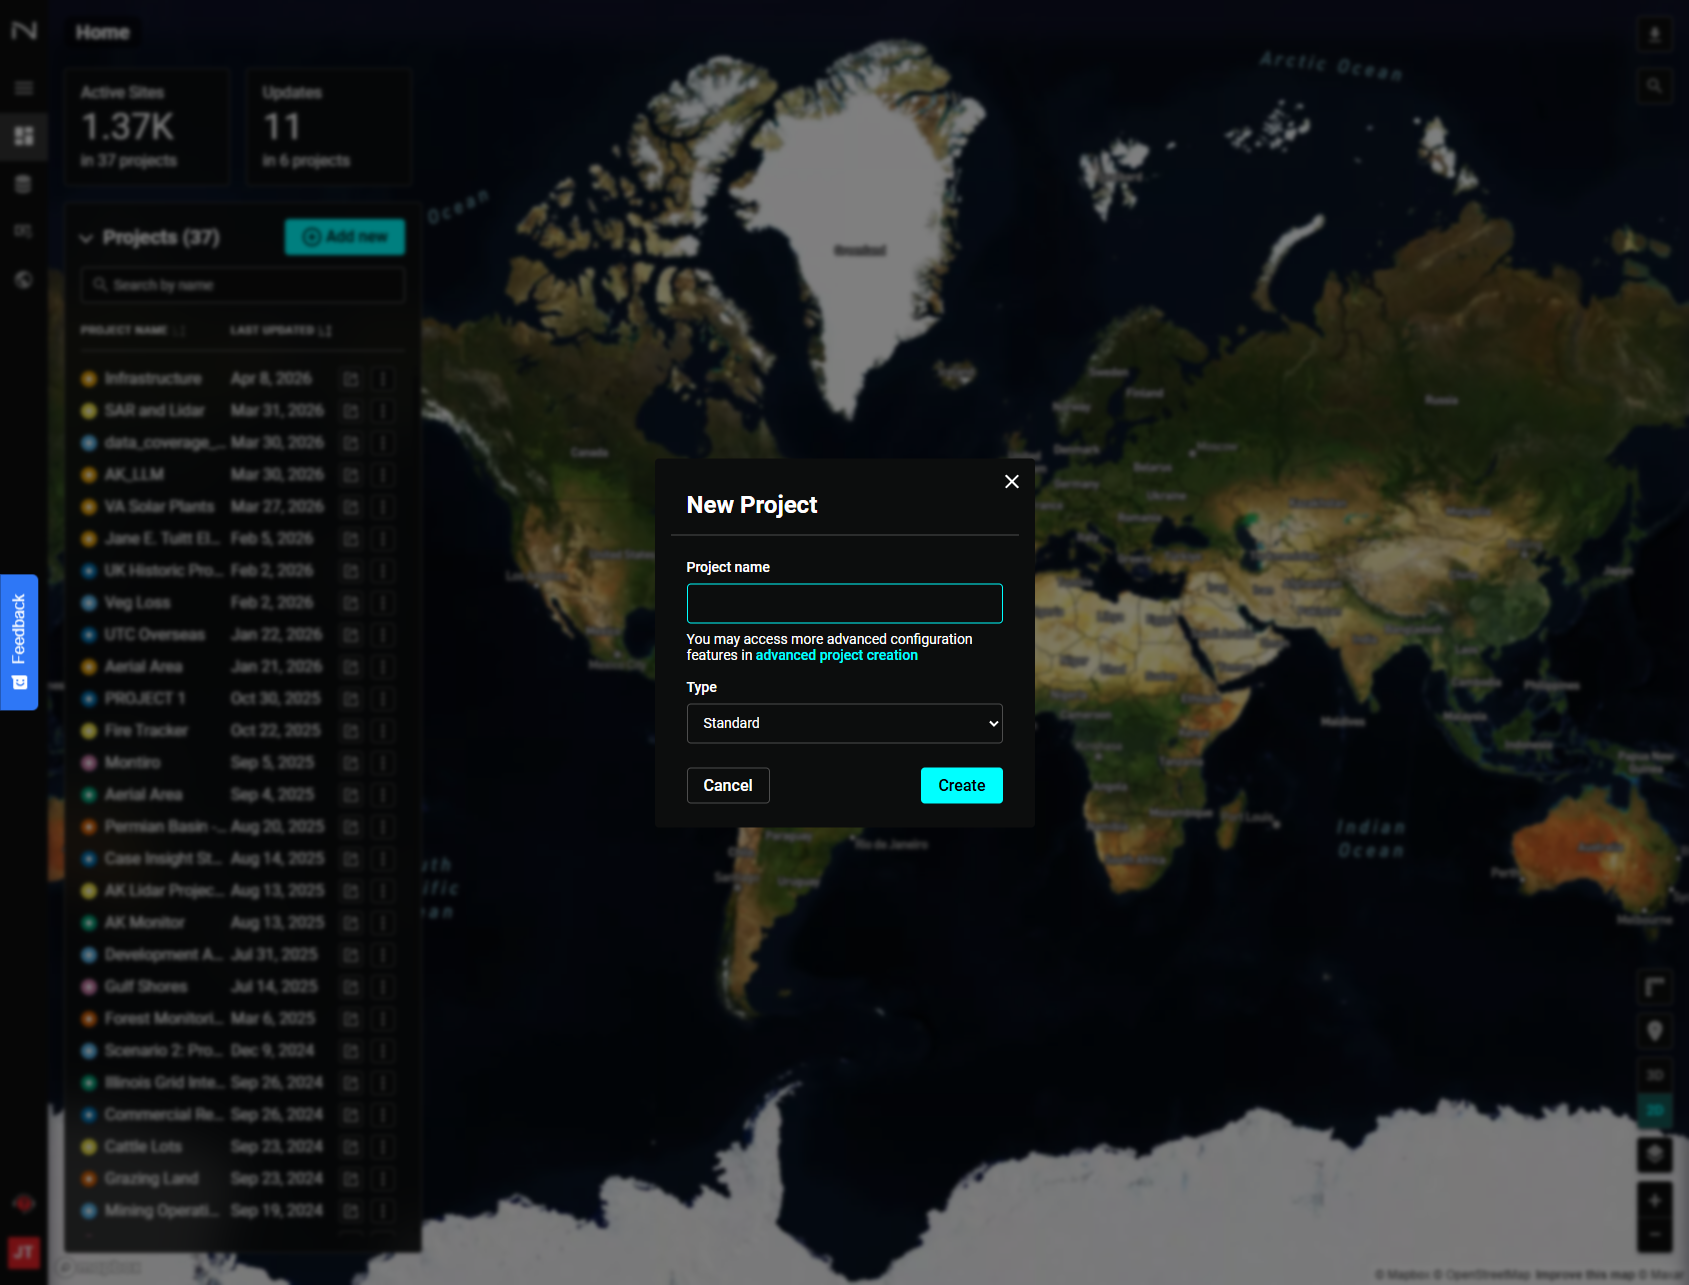
Step 4 — Click Create. You'll be taken directly into your new project.
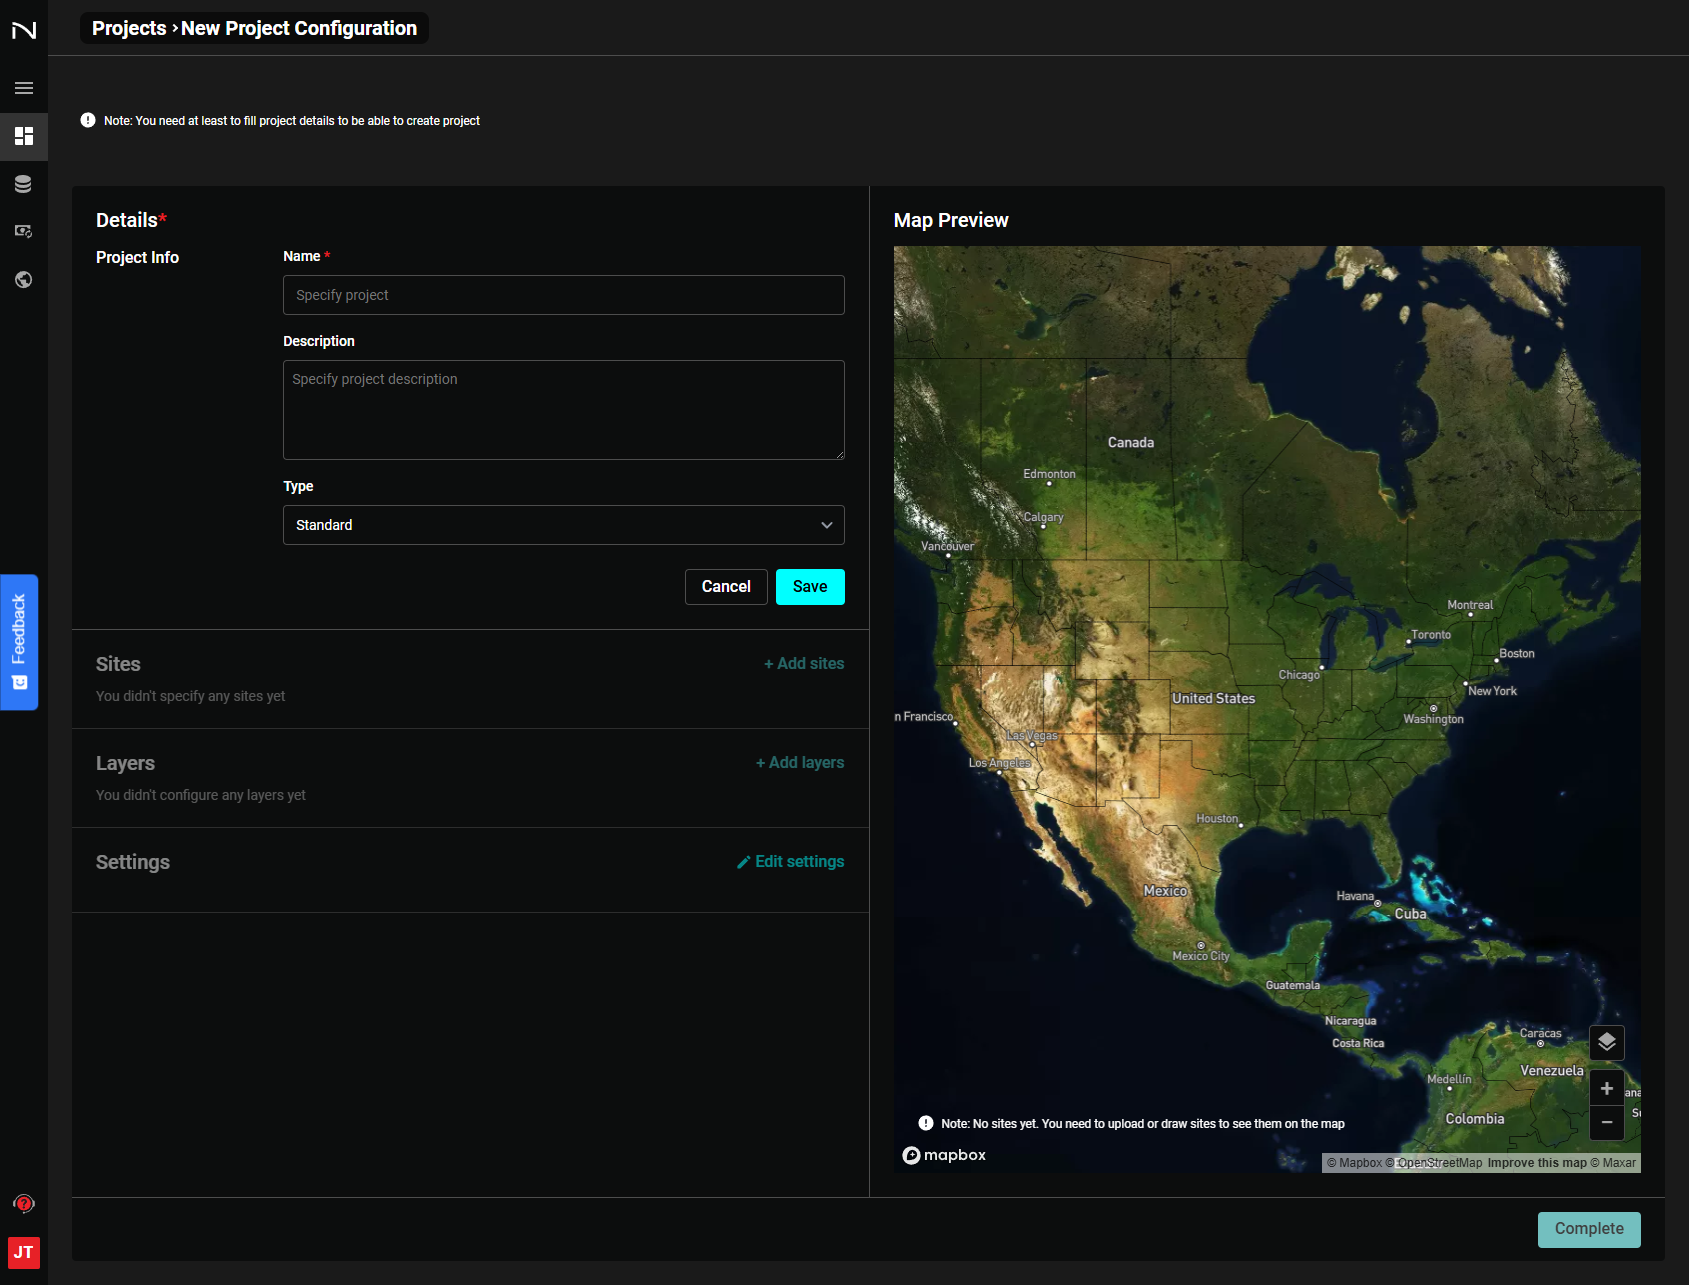
To edit the project description, start/end dates, sites, layers, and imagery settings, click the Edit Project Configuration gear icon that appears in the top right corner of the screen once inside the project.
Next Steps
Once your project is created, add sites to it:
- Draw a site manually — Use the map drawing tools to define your area of interest.
- Upload a site — Import site boundaries from a GeoJSON, KML, or other supported file.
For full project configuration options, see Configure a project.